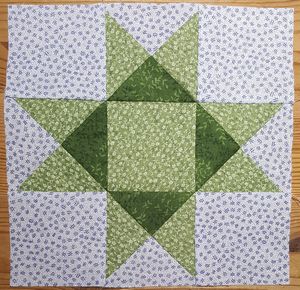
This is a visual guide to making a 9-inch Ohio Star quilt block using actual photos from making one 9-inch Ohio Star block.
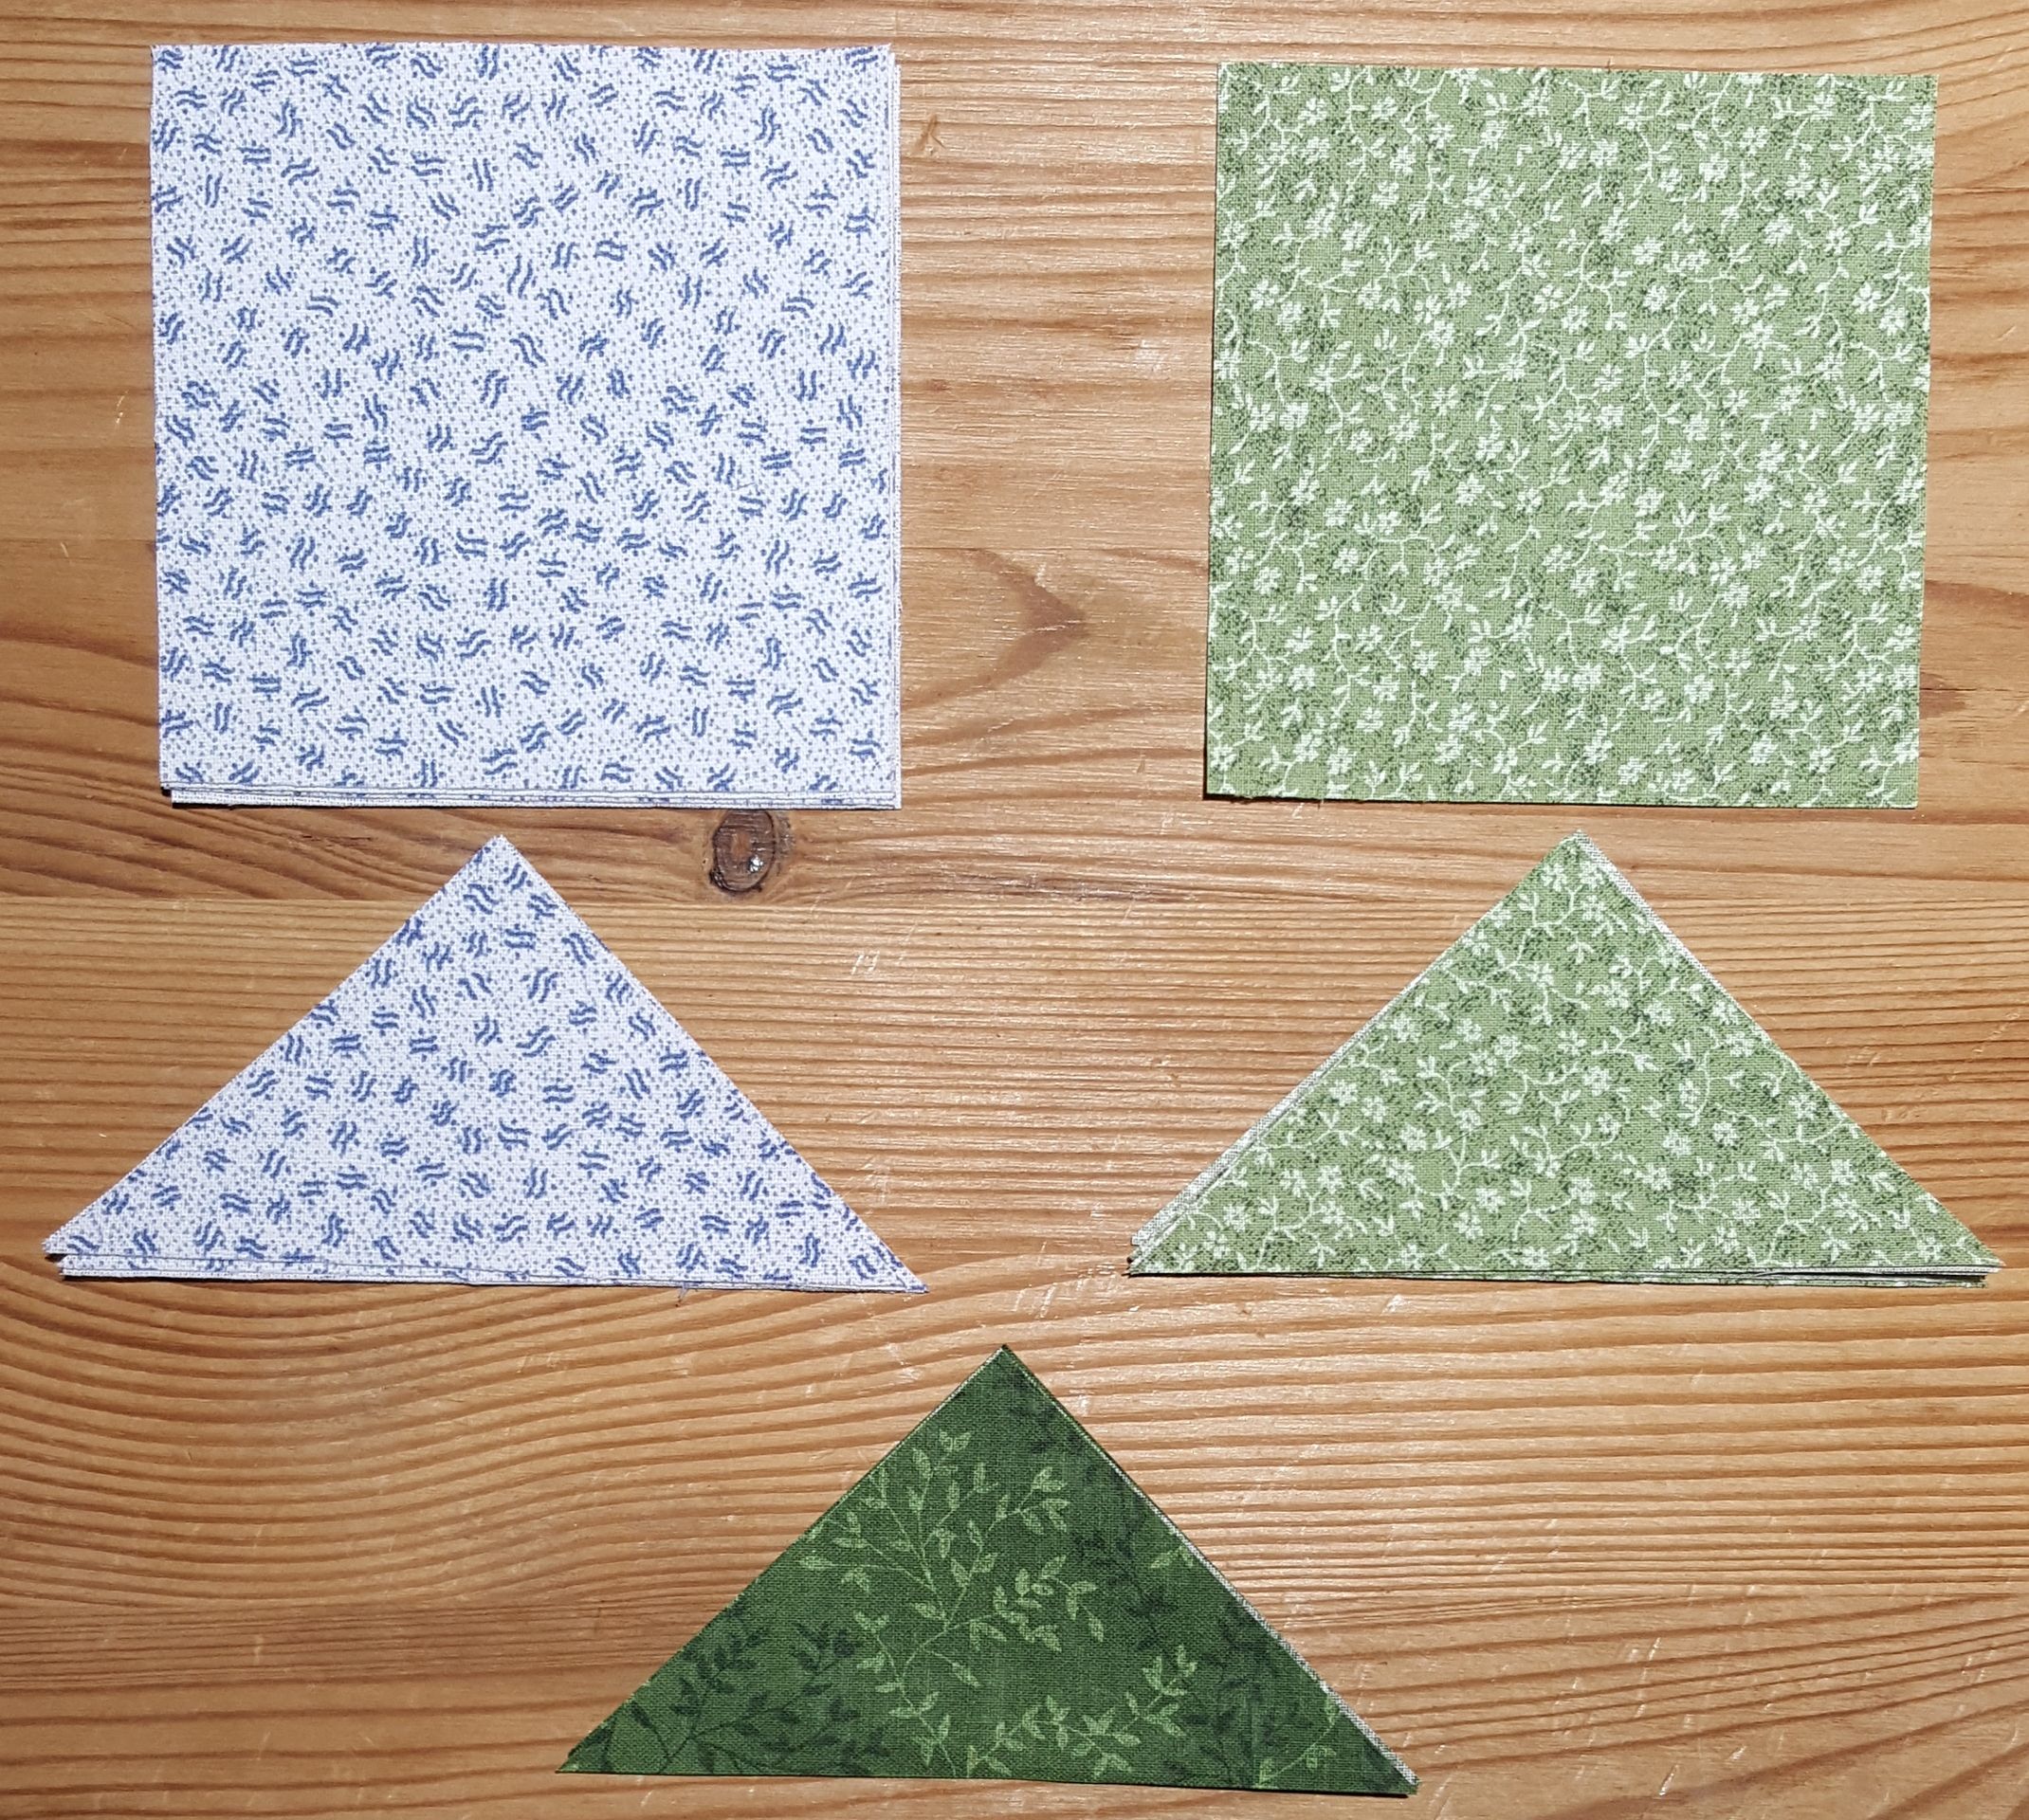
Pieces for 9 inch Ohio Star Quilt Block
Cut your pieces for the quilt block as follows:
Background Fabric – in the above photo, it is the blue on white fabric
4 3 ½ inch squares
1 4 ¼ inch square cut in half diagonally twice
Star Fabric – in the above photo, it is the light green tonal floral fabric
1 3 ½ inch square for star center
2 4 ¼ inch square cut in half diagonally twice for star points
Contrast Fabric – in the above photo, it is the dark green tonal leaf fabric
1 4 ¼ inch square cut in half diagonally twice for contrast
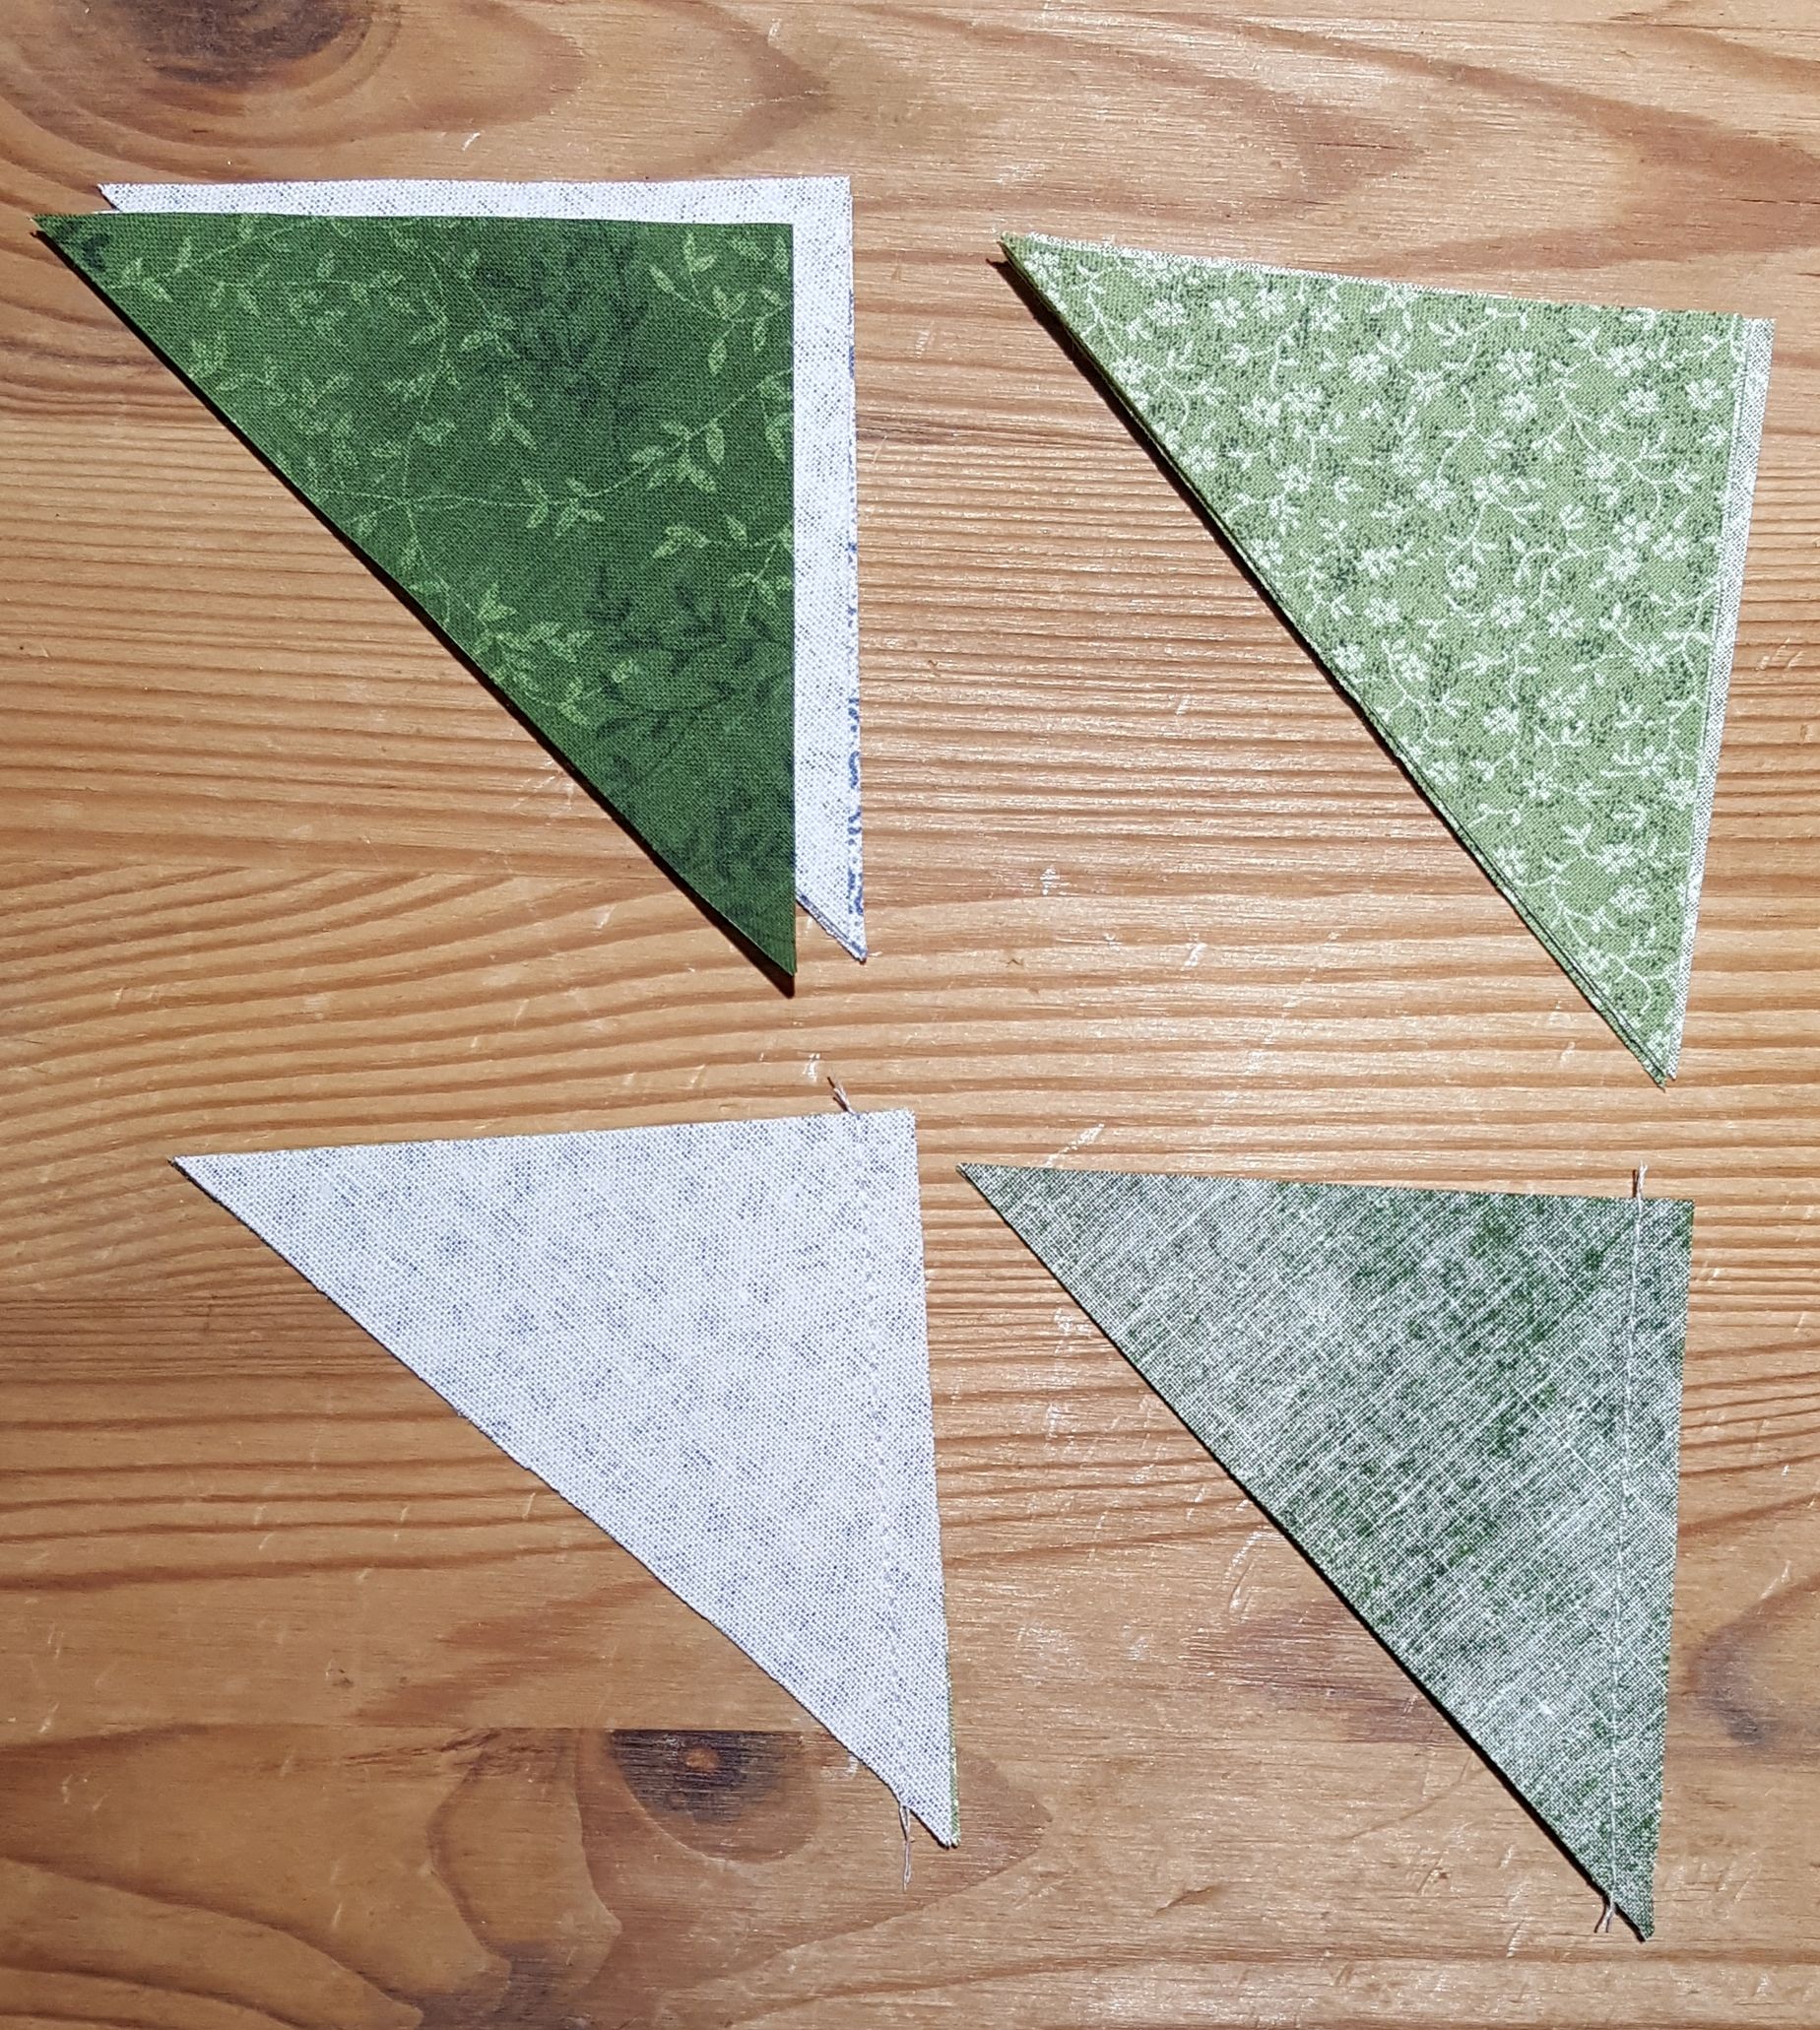
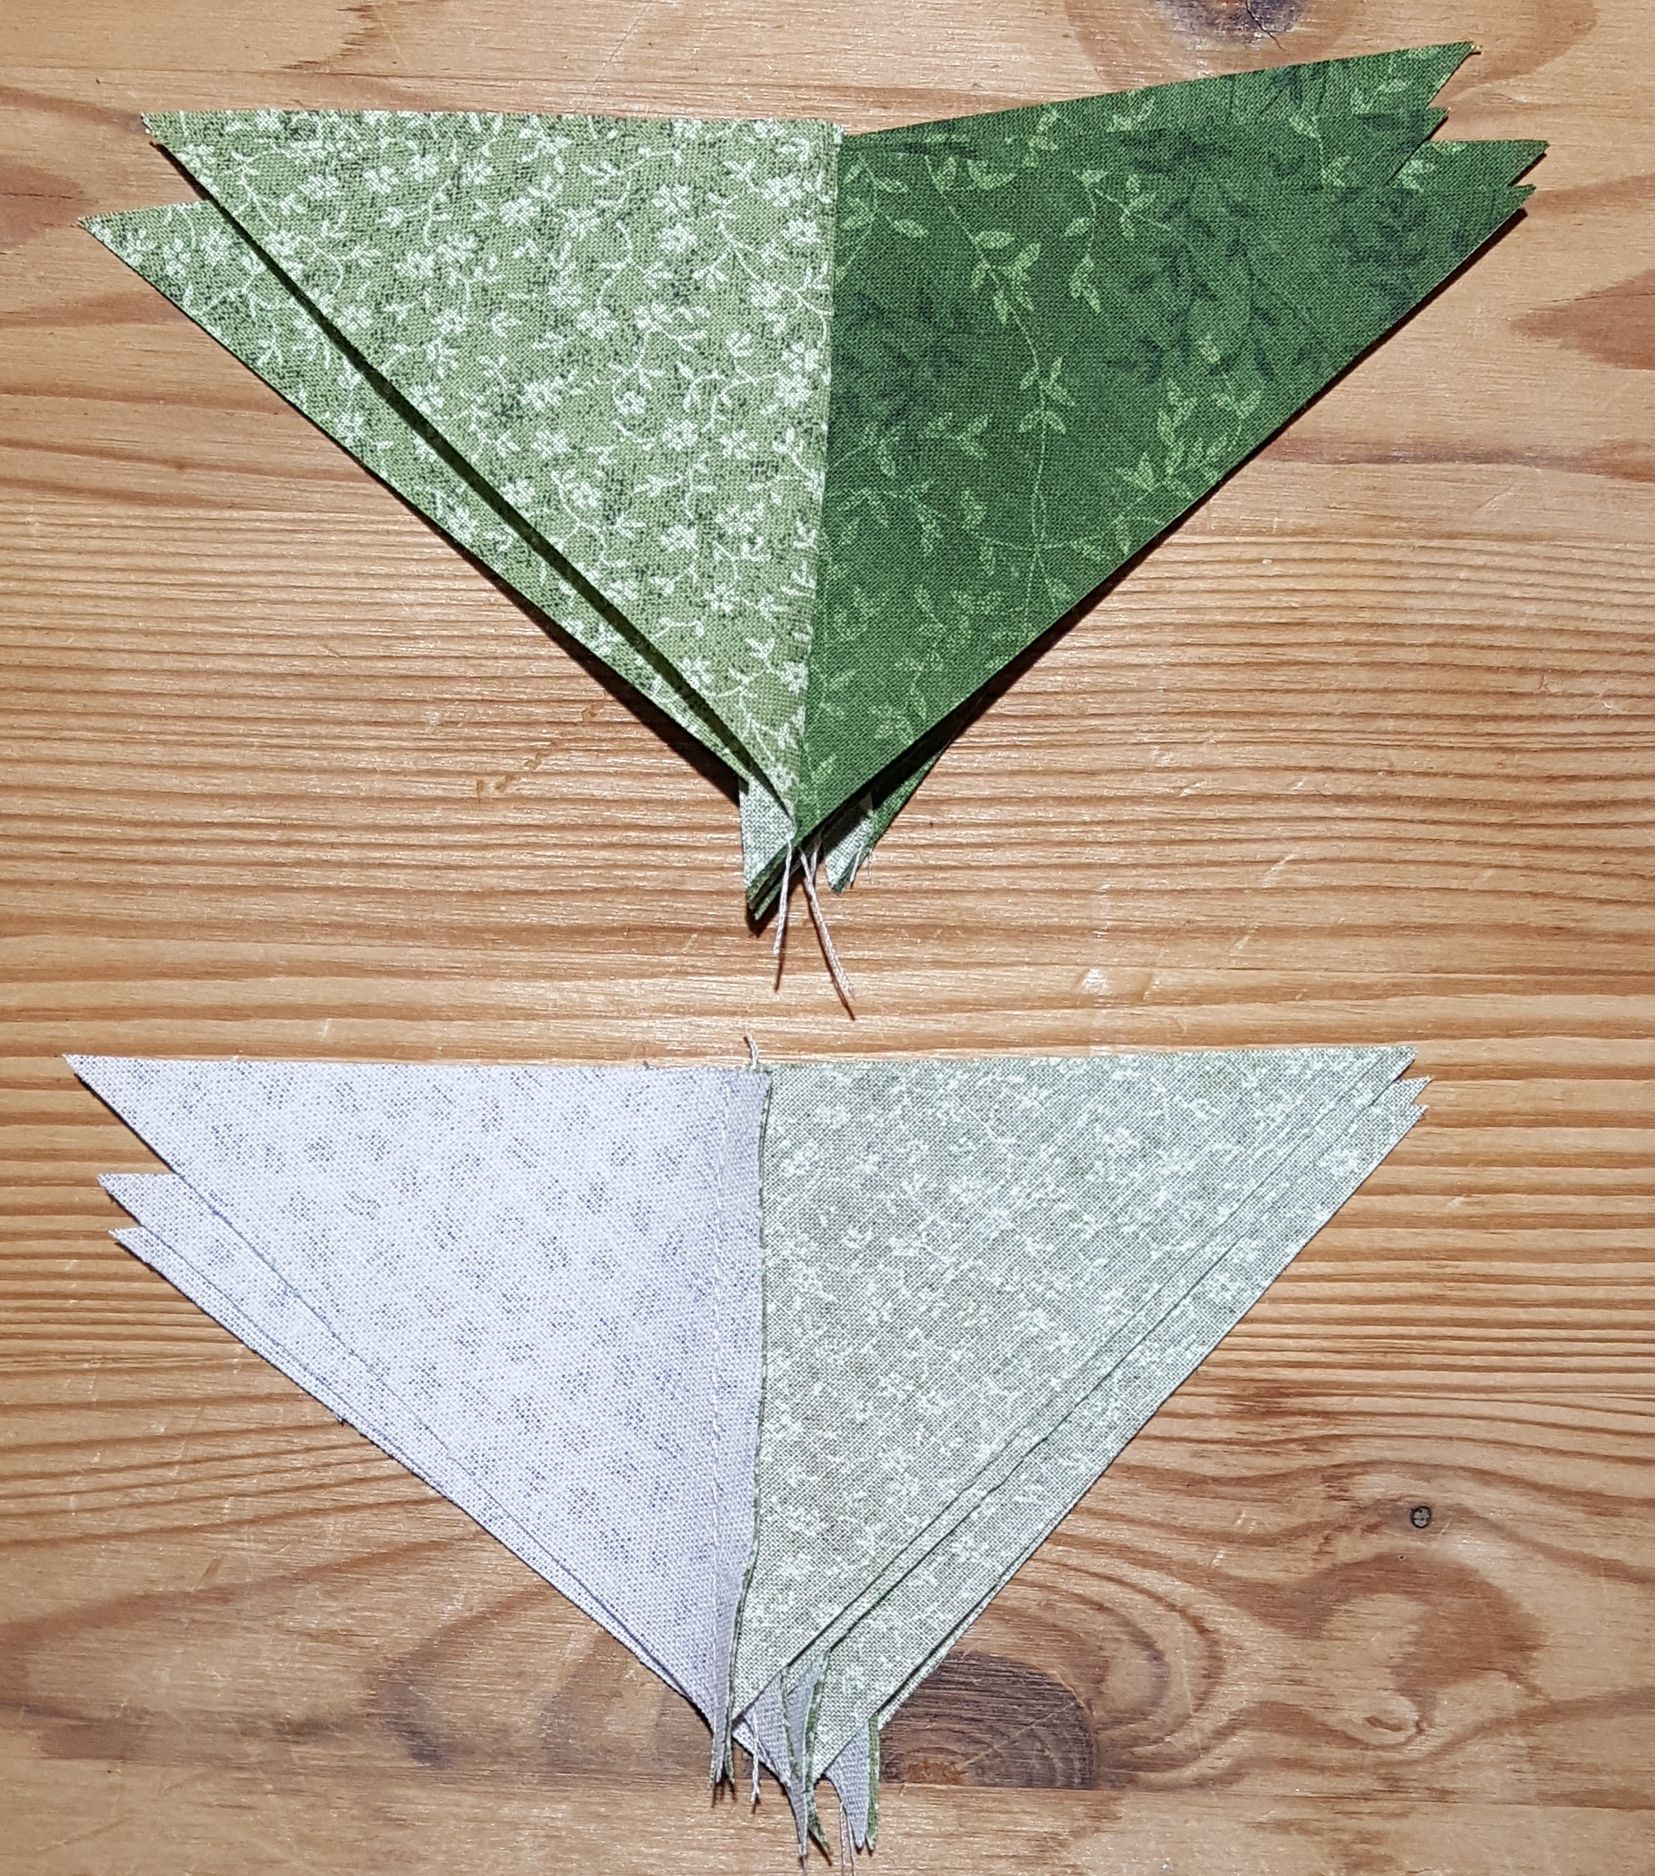
Sew the background triangles and contrast triangles to the star triangles with right sides together and star triangles always on the bottom. Sew down the right edge from the 90 degree angle as shown.
Background and contrast triangles sewn to star triangles
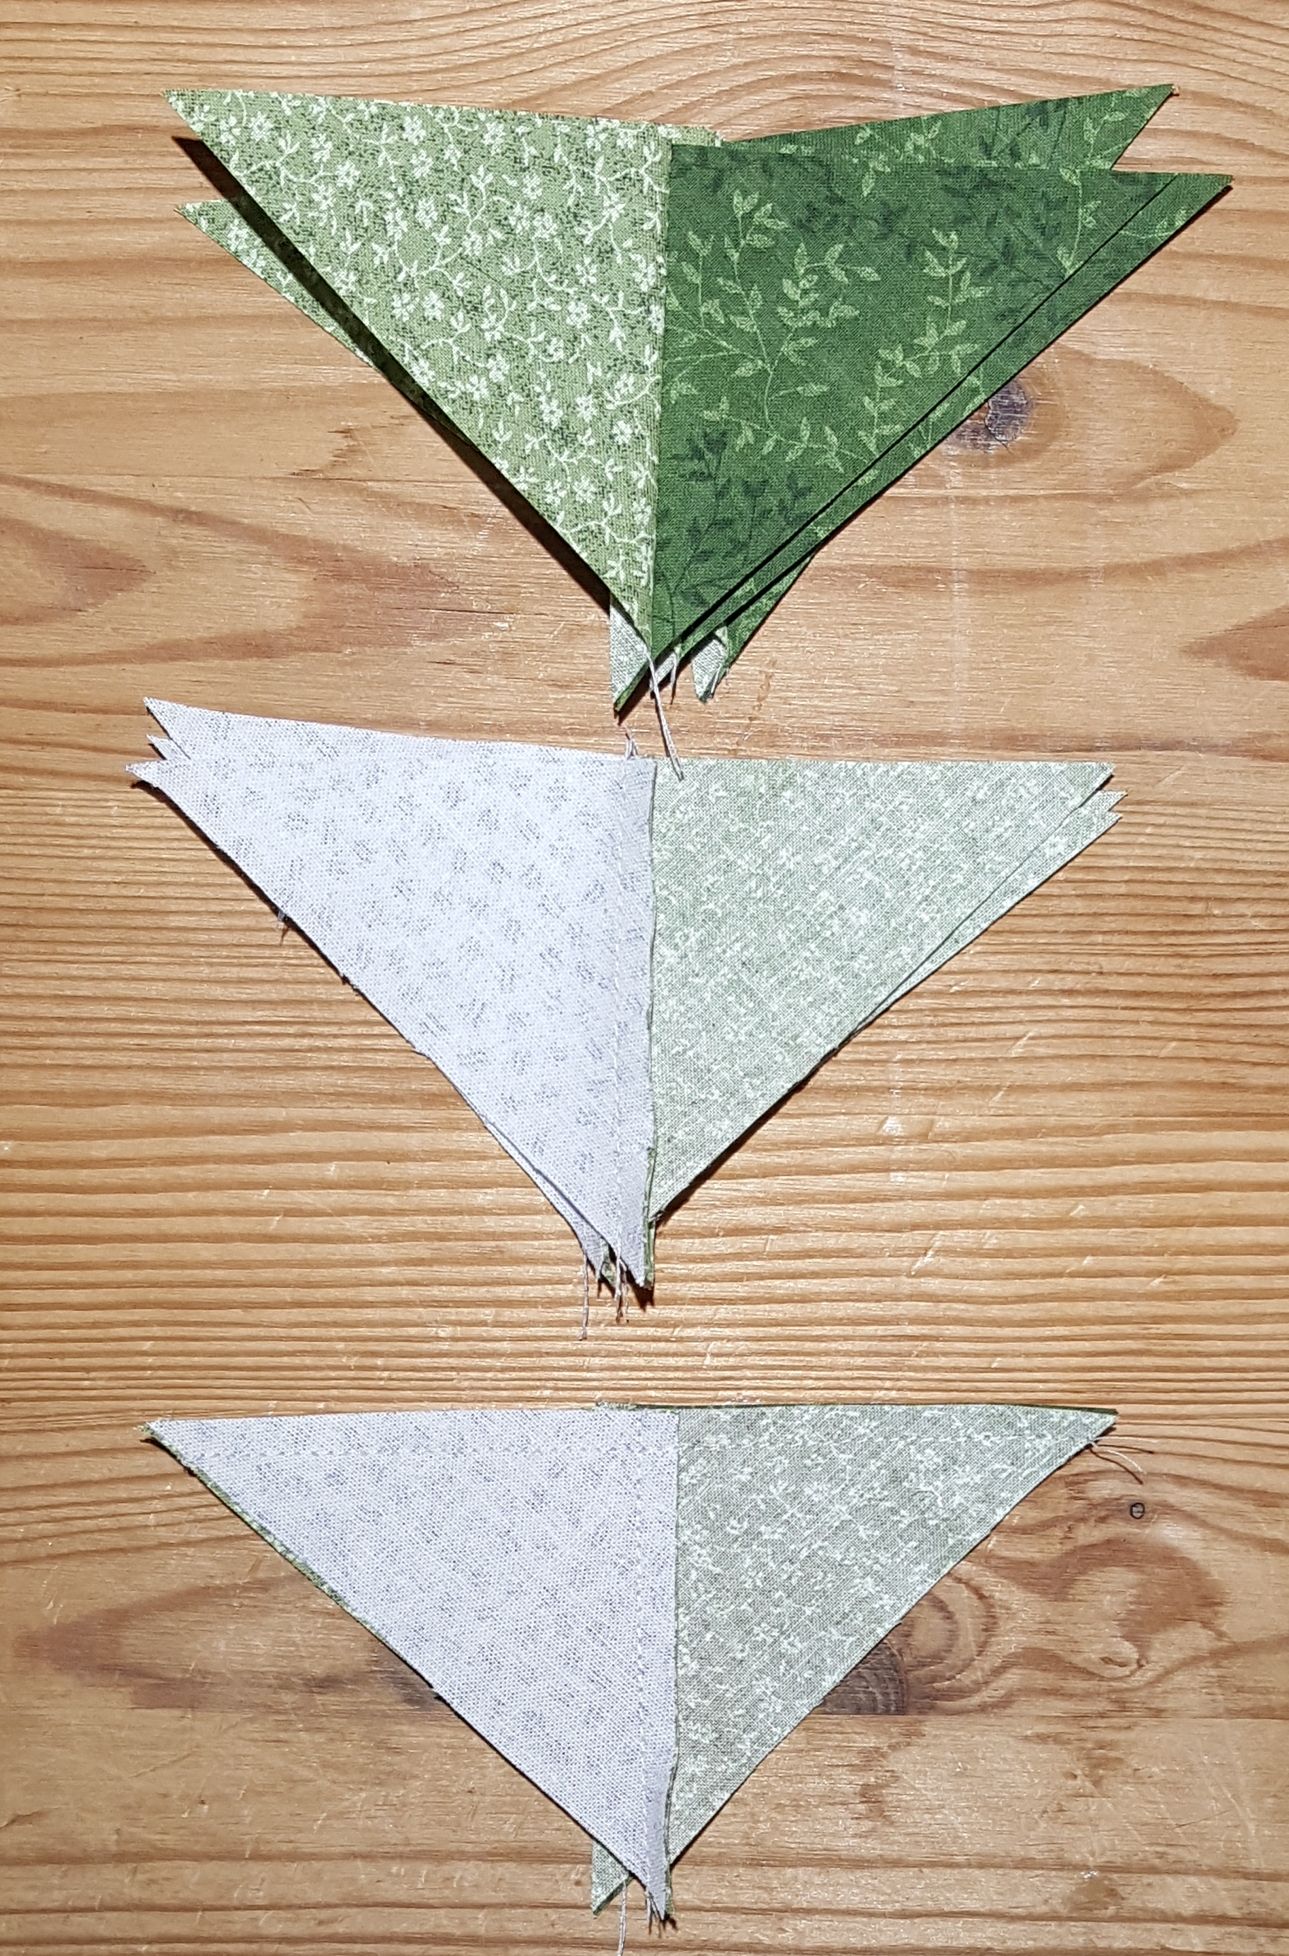
Star side of sewn triangle pieces for Ohio Star quilt block
Press seam toward star triangle on all pieces for Ohio Quilt block
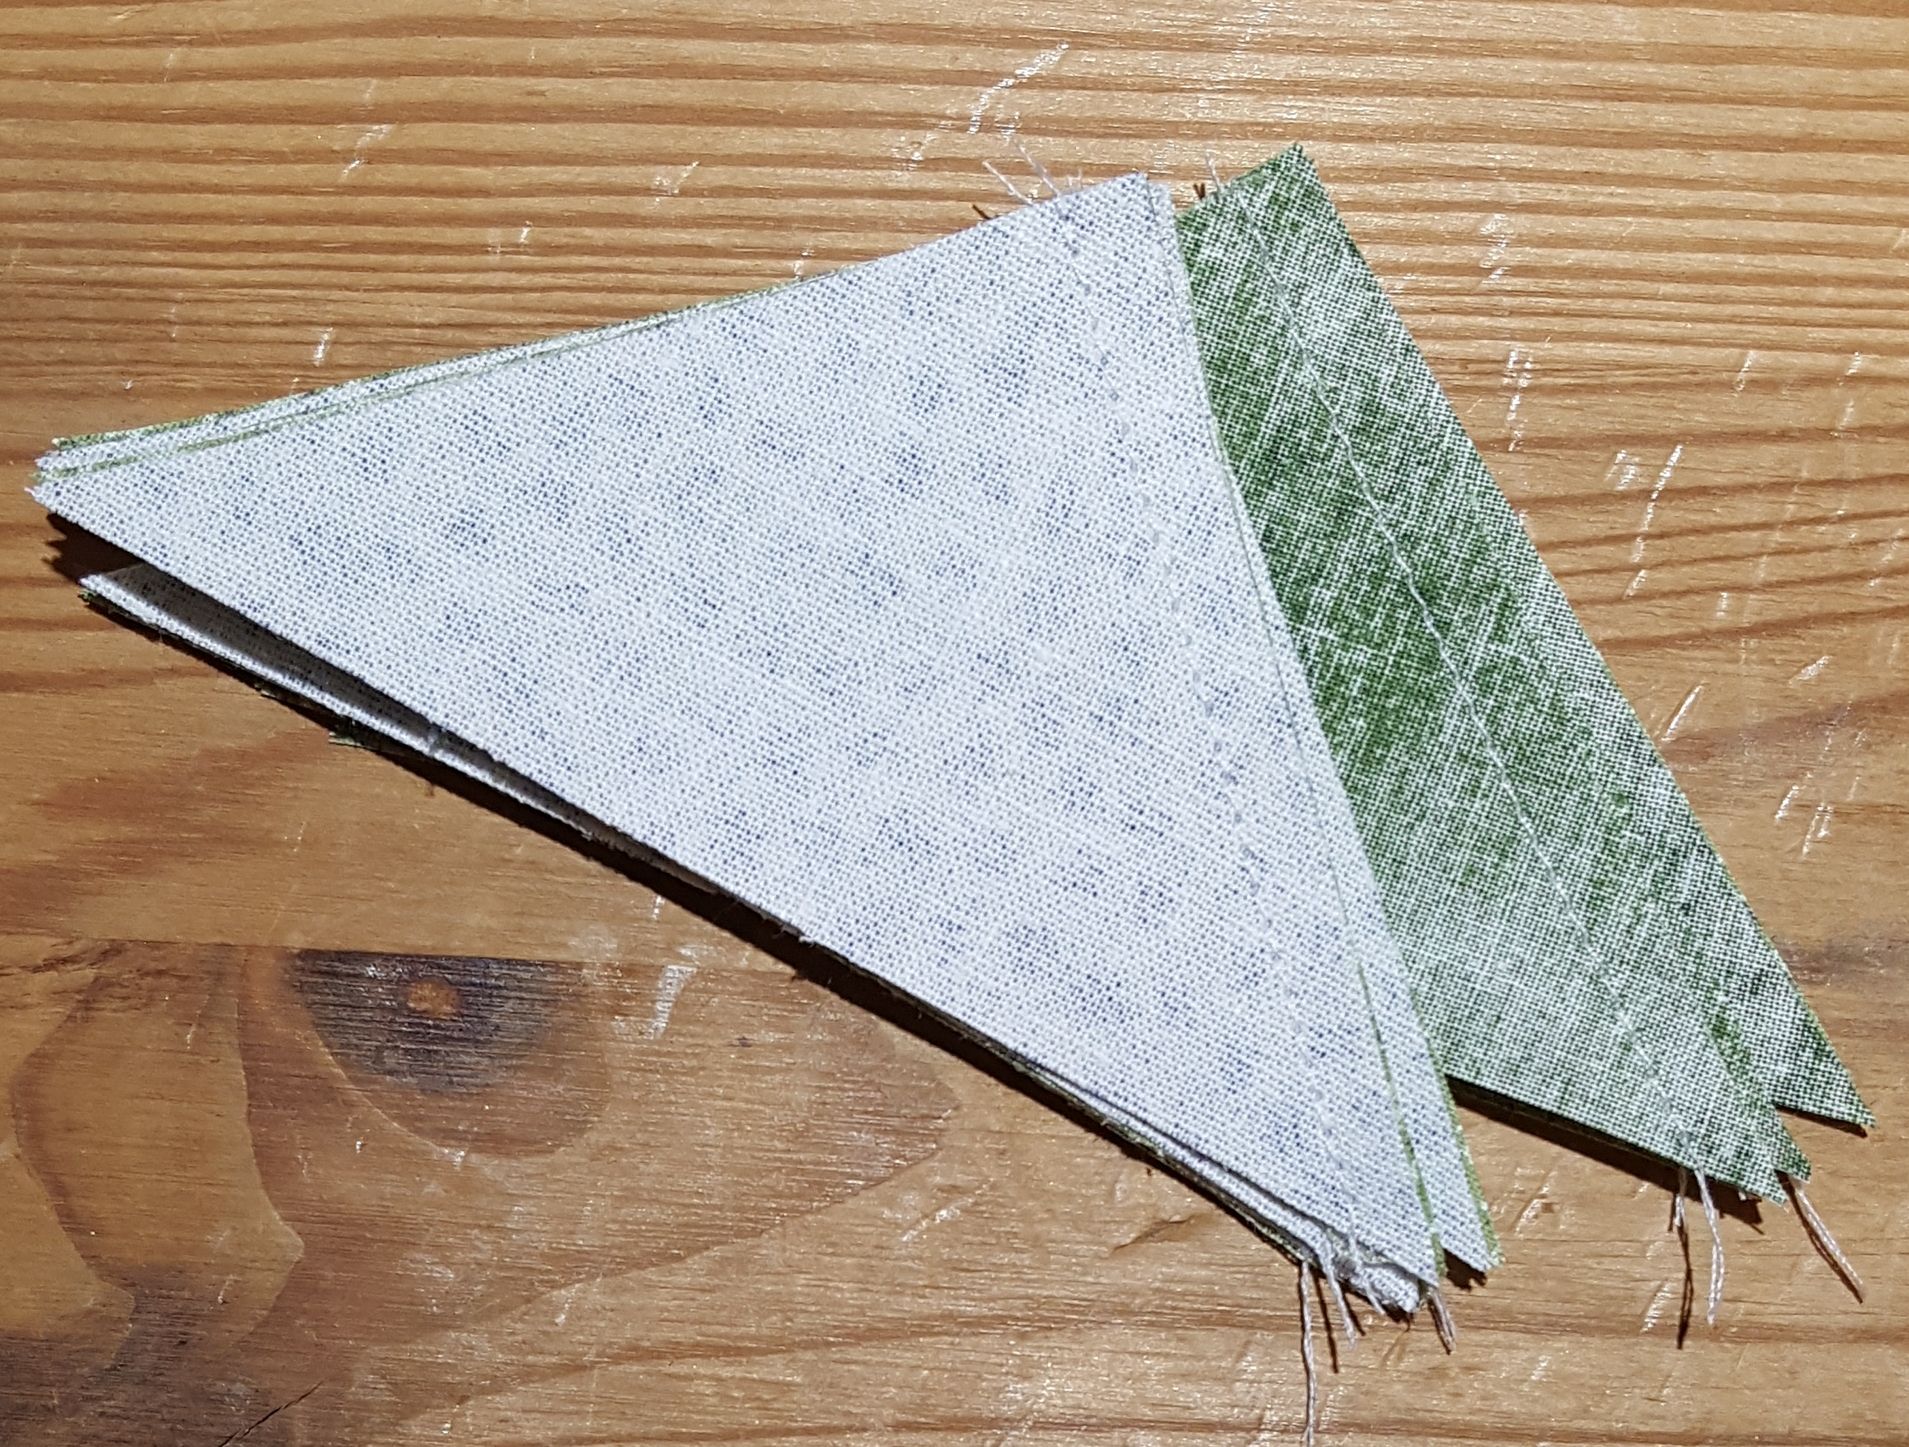
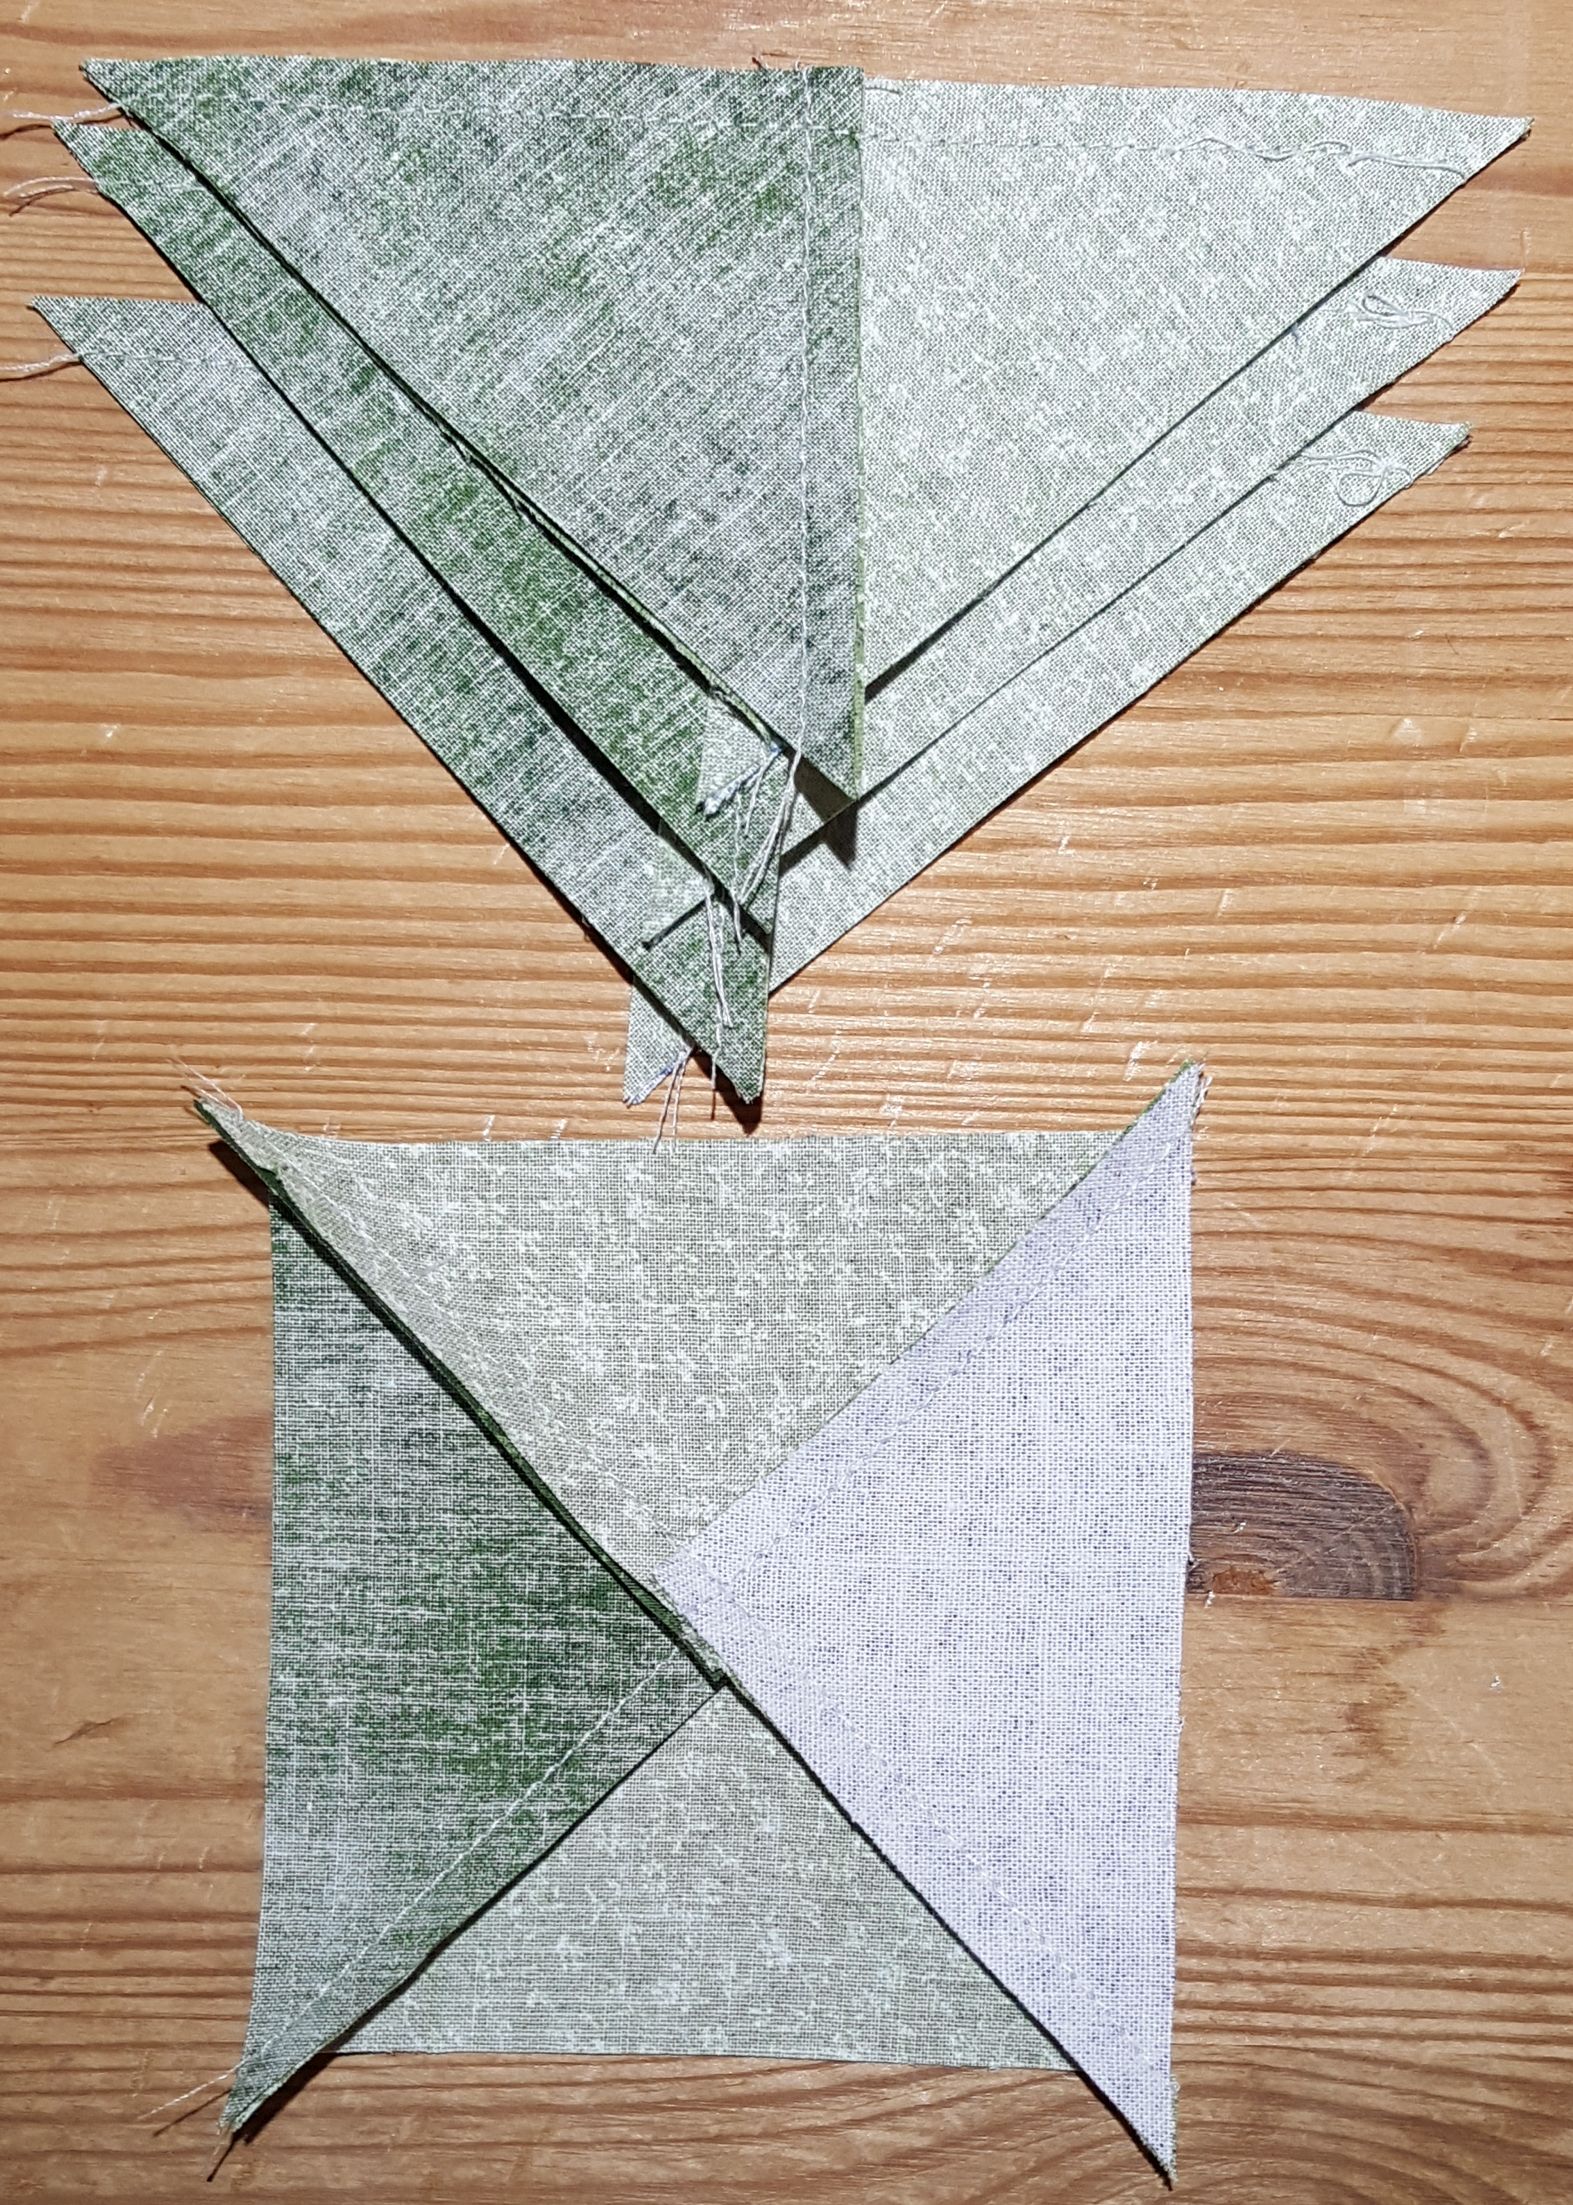
Sew background triangle sets to contrast triangle sets along long edge nesting seams
Open sewn triangles pieces and press seam toward contrast triangle
Trim dog ears from sewn triangle pieces for Ohio Star quilt block
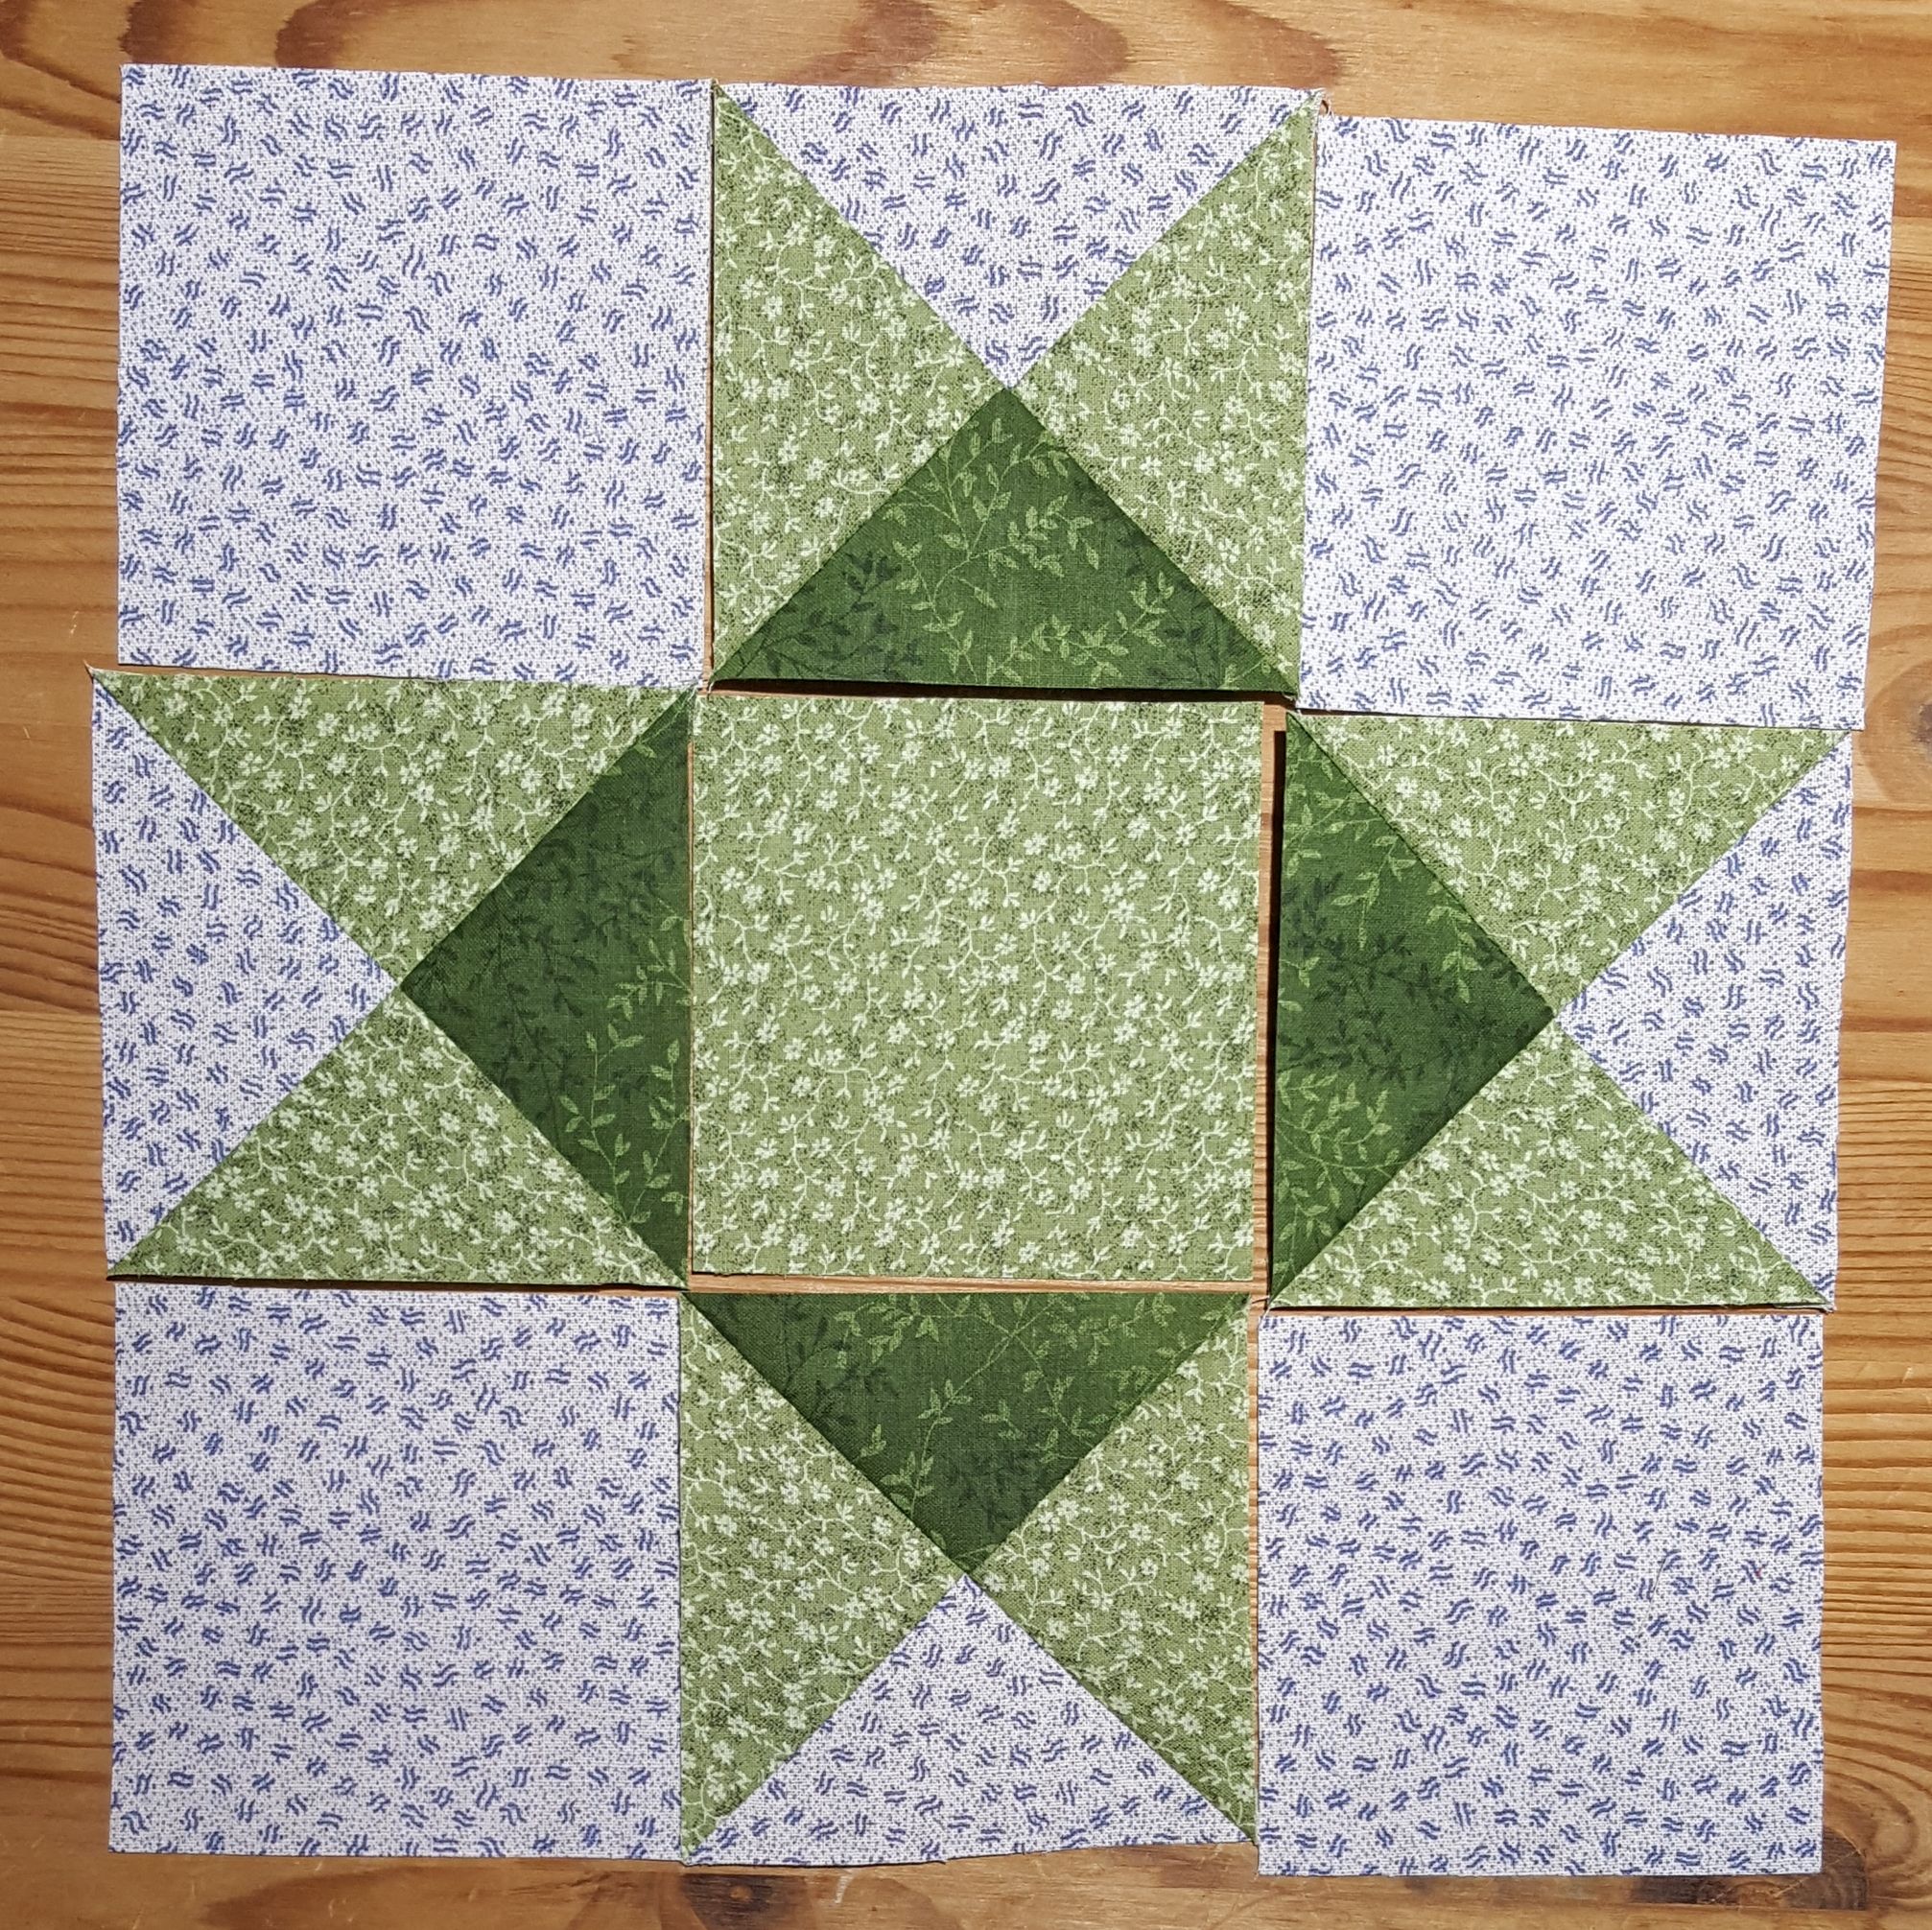
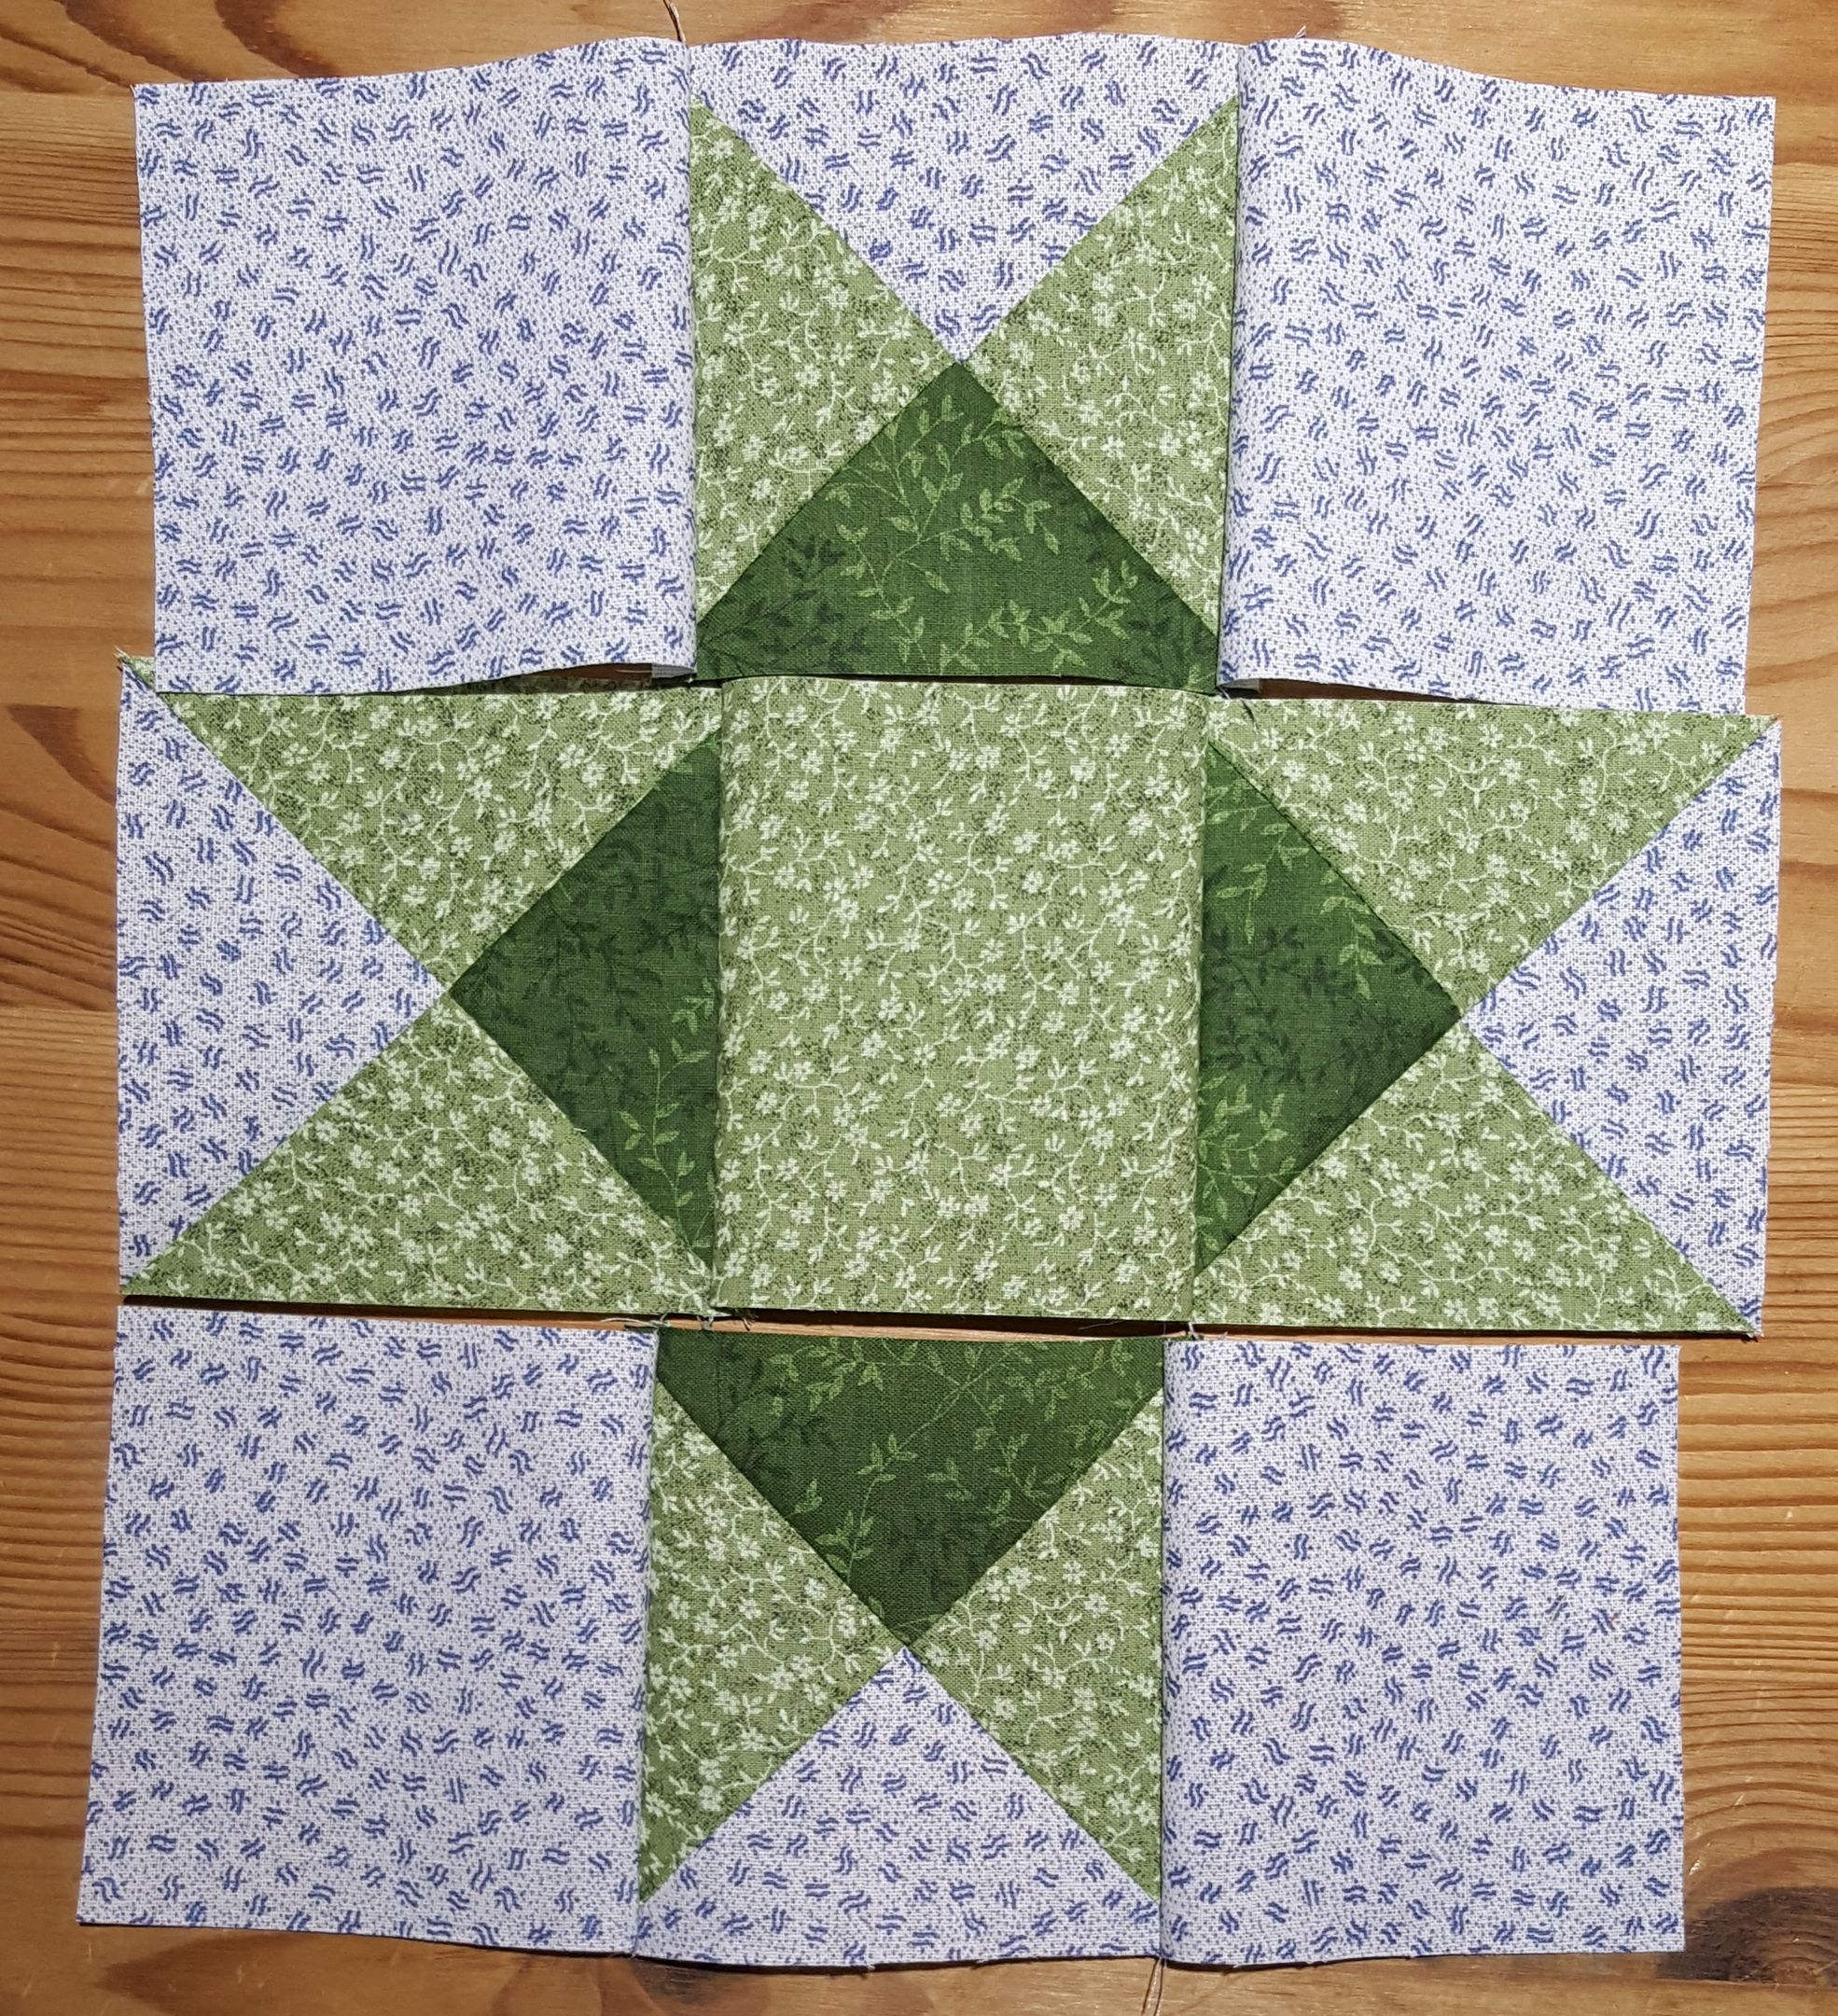
Arrange the sewn triangles with the background squares and the center square to form Ohio Star quilt block. Make sure your contrast triangles border the center square and the background triangles are on the outer edge.
Sew the rows together first for the Ohio Star quilt block. Keep checking to be sure you have the parts in the correct order as you sew.
Press the seams inward for middle row and outward for outside rows for the Ohio Star quilt block
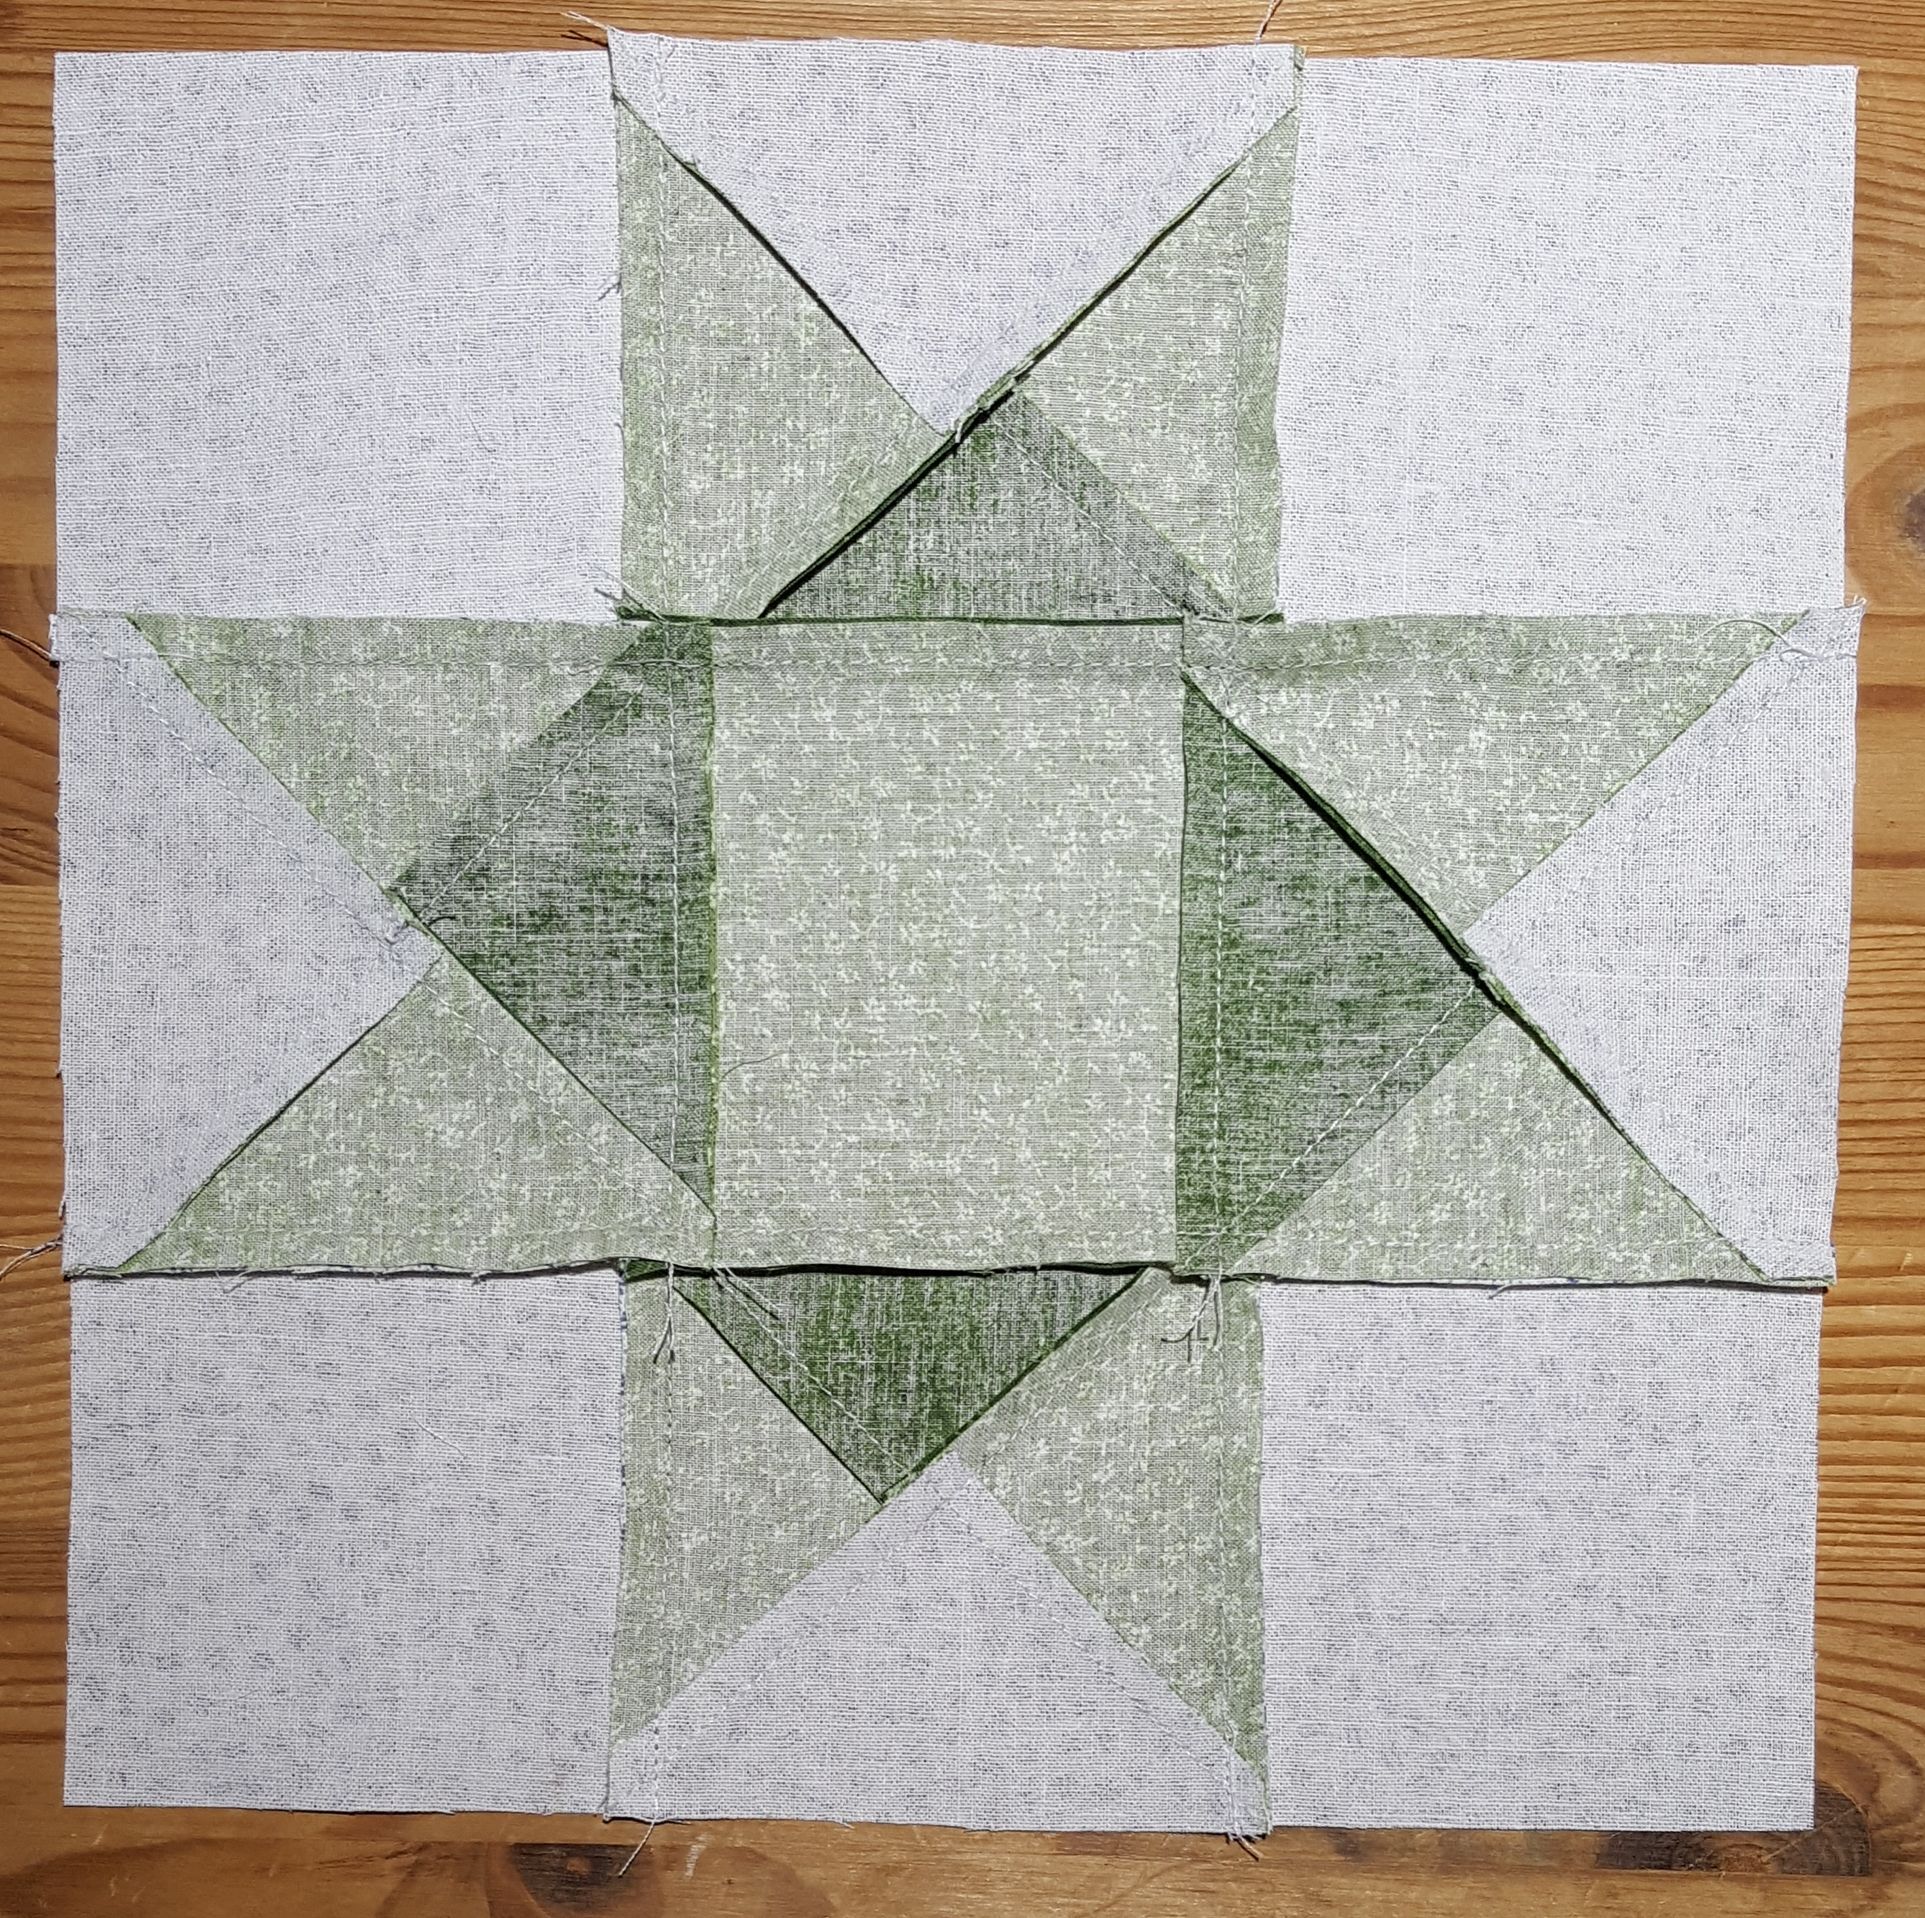
Sew the rows together nesting the seams for the Ohio Star quilt block. Make sure you keep your rows in the correct order as you sew that third row onto the block.
Press the row seams outward on the Ohio Star quilt block
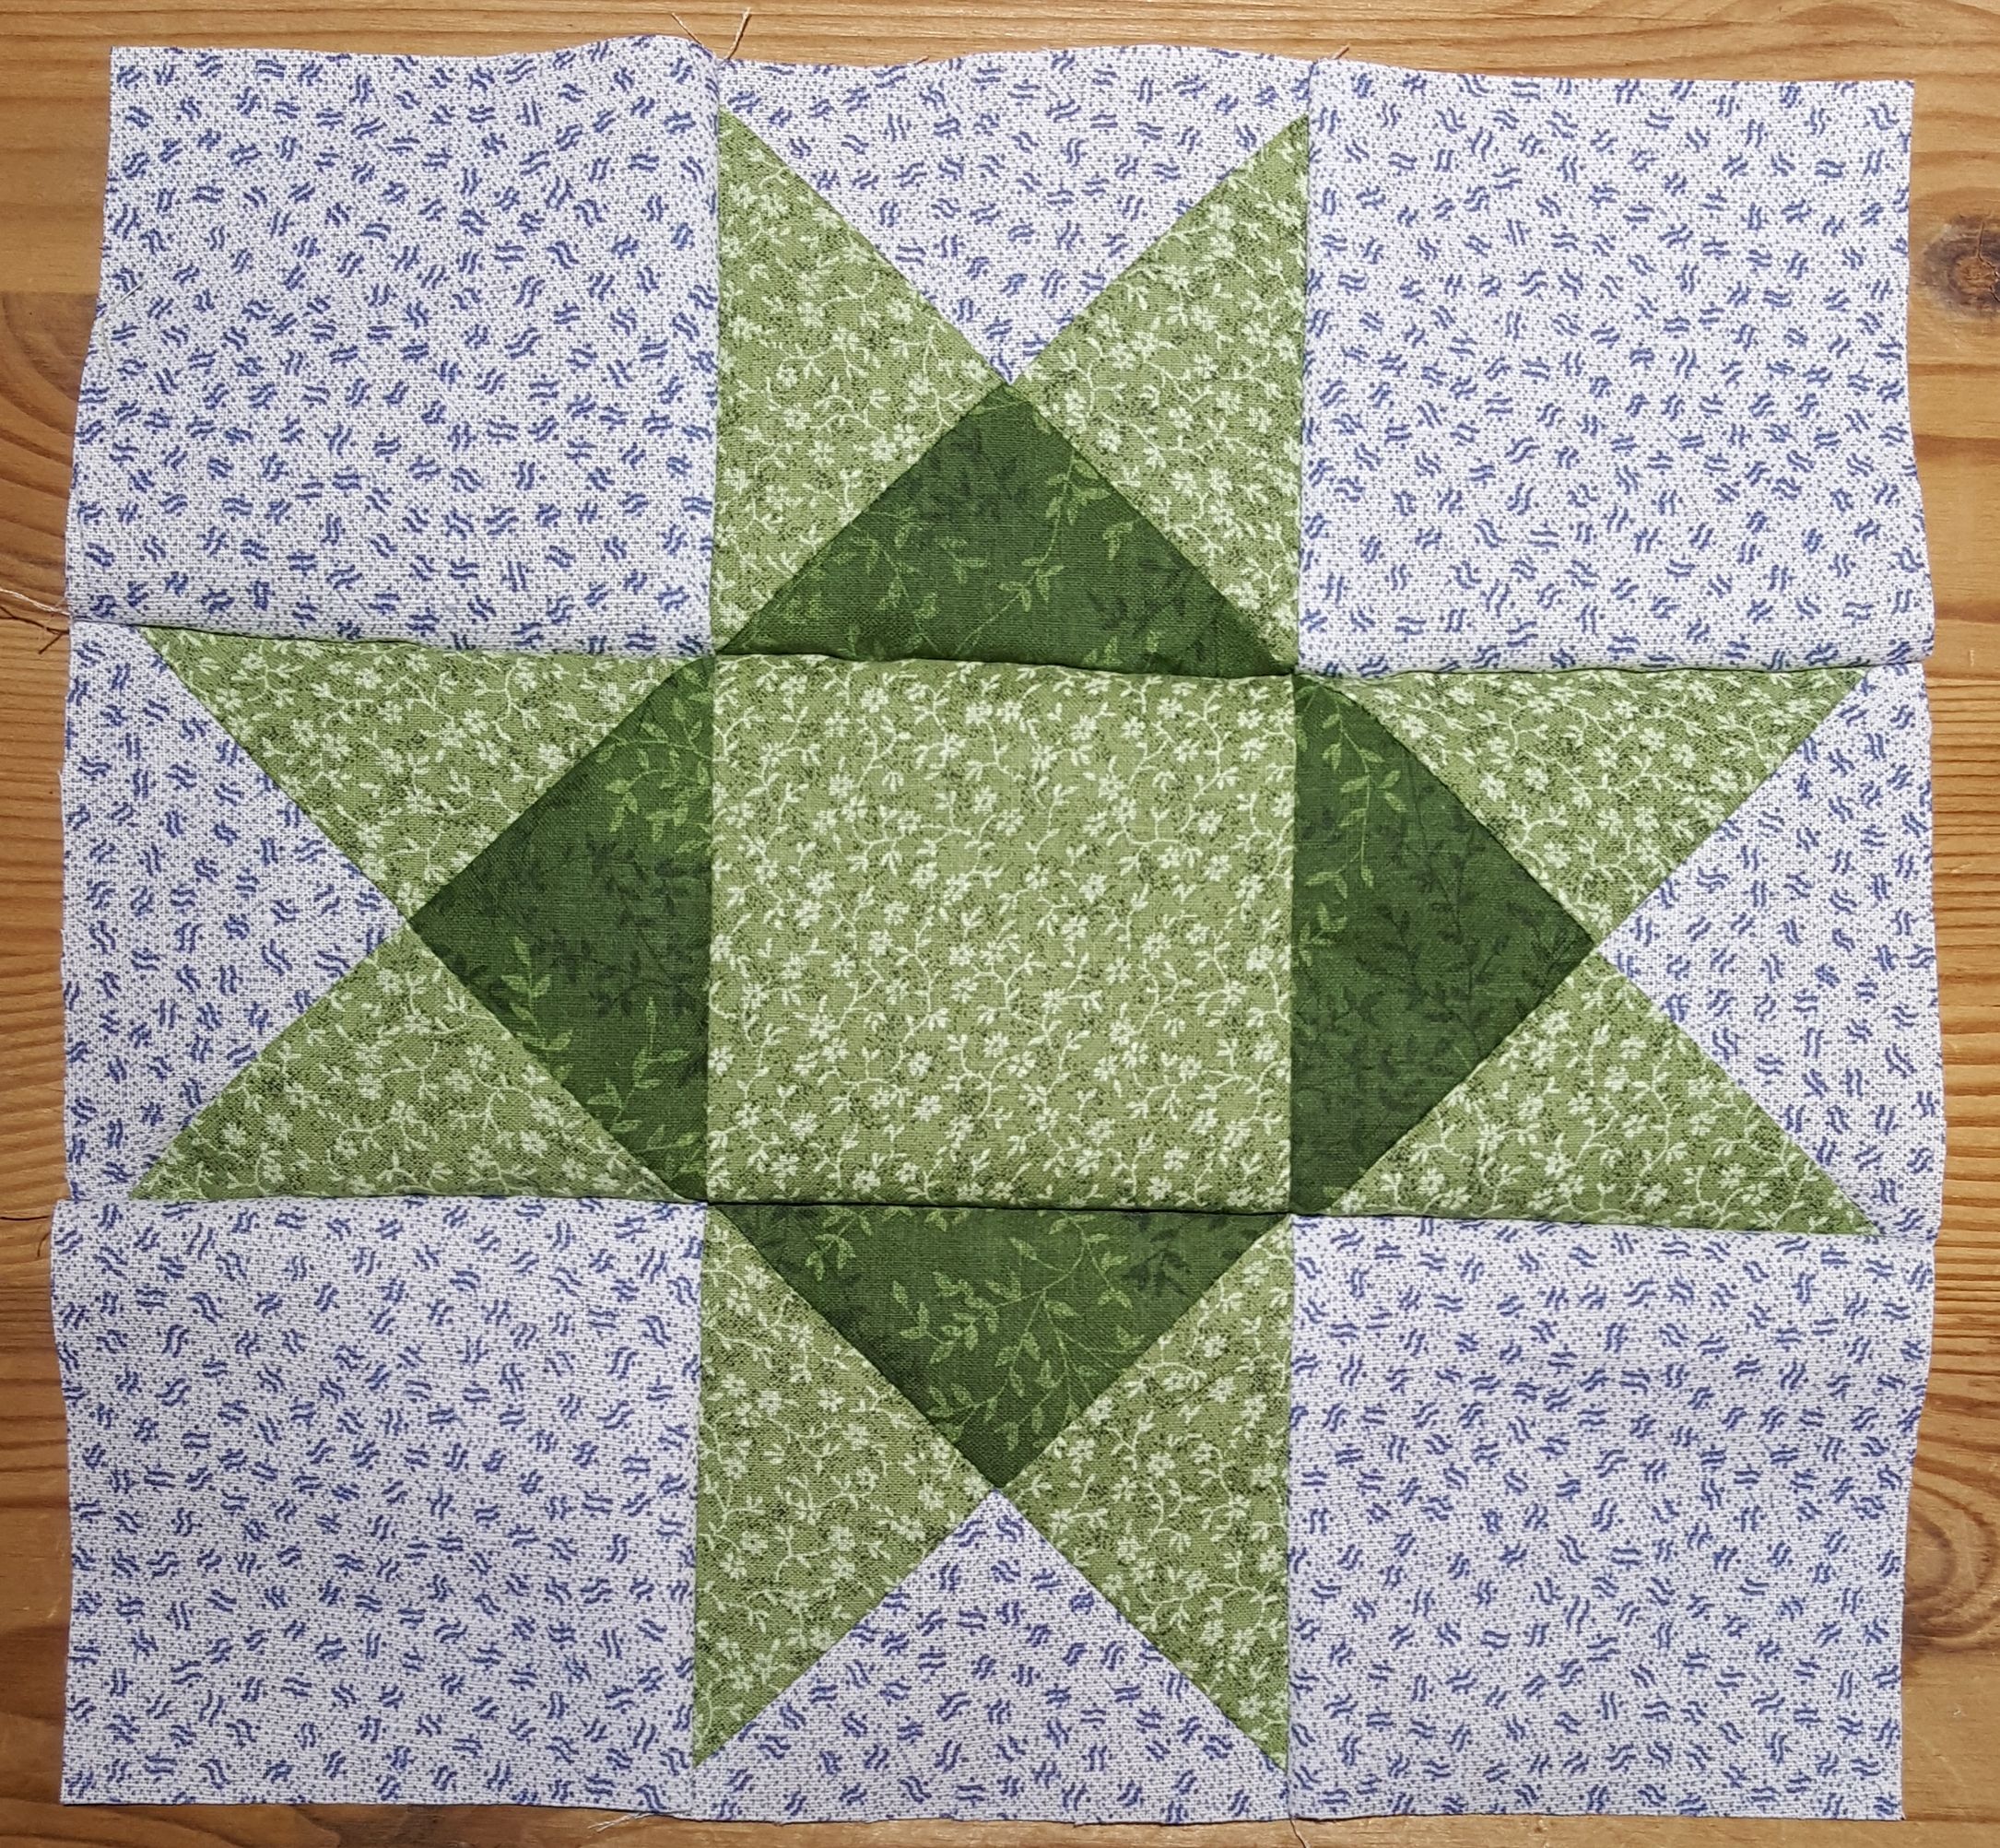
Turn the block over and admire your beautiful 9-inch Ohio Star quilt block
As you can see, my block is not perfectly square. It tends to bow a little at the middle row. I do not trim it because this is caused by the fabric stretching. When I sew the block into the quilt, I just keep the edges of the two pieces I am sewing even with each other and stitch a quarter inch seam. Once the quilt is completely finished and washed, it all looks fine. I use unwashed fabric when I am quilting so the fabric shrinkage outweighs any wonkiness in the blocks themselves and the washing helps bring the fabric back into shape.
So I was going through my storage tubs the other day and found one that was a complete surprise. When I saw what was inside, I remembered starting the projects but had forgotten all about them. Here is the tub.
Quilter’s Storage Tub
Here is pictorial of what I found when I opened the tub.
Hunter’s Star from scrap fabrics
Block parts to more Hunter’s Star blocks
Cut pieces for Hunter’s Star blocks
Border pieces to an Eventide quilt top
Ohio Star block and Hourglass block to Eventide Quilt
Hourglass pieces to an Eventide quilt top with my sketchy directions I wrote from a picture of an Eventide Quilt
Cut pieces for the Ohio Star blocks of an Eventide quilt top
I was very happy when I found this tub as I am in an “Ohio Star” mood and had just completed a scrappy Ohio Star quilt. I wanted to make another one but I am working on Christmas gifts so I put the thought aside. When I saw these neatly cut and stacked pieces for the Eventide quilt which is composed of small and large Ohio Star blocks, I just had to work on it. I spent my entire Saturday sewing and completed all of the blocks and one border length and put those all together to complete most of the top. I only have the other border and side to attach and the top will be done. I will post a picture of the top soon, I promise!
What treasures have you found in your storage tubs?